
First of all, prepare images of the objects you want to implement in PNG format with a transparent background using an image editing software and save them in a folder on your hard drive.
- Method 1 – Importing objects via dialog box:
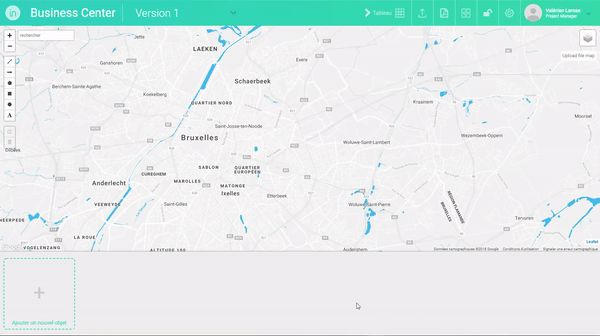
- In the editing interface of the version of a project, click on the box “Add a new object” in the object collection area at the bottom of the screen.
- In the “Open” dialog box, browse to the folder where you saved the images of your objects in PNG format.
- Select the PNG file(s) of the objects you want to add to the project (ctrl+click to select multiple files).
- Click open to add the objects in the object collection area.
- Method 2 – Importing objects by drag and drop :
- In the file explorer of your operating system, go to the folder where you saved the images of your objects in PNG format.
- Select the PNG file(s) of the objects you want to add to the project (ctrl+click to select multiple files).
- Drag these files to the “Add a new object” box in the object collection area at the bottom of the screen.
